Showing posts with label Manshee. Show all posts

Saturday, April 21, 2012

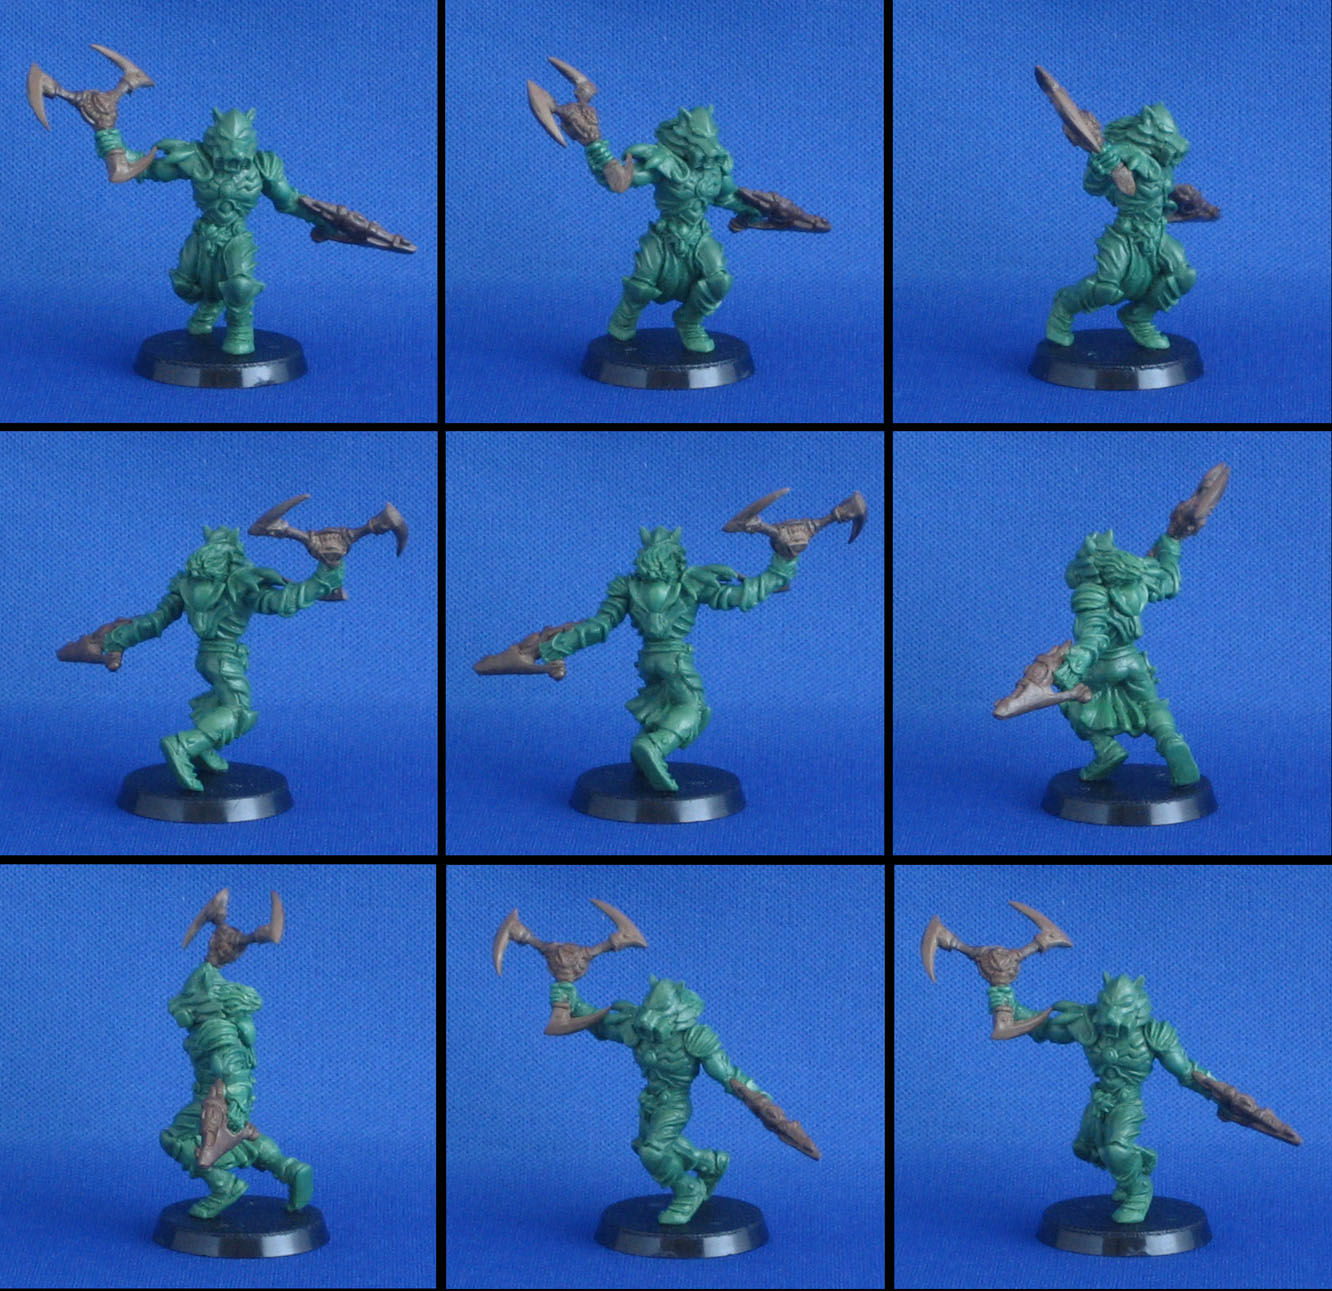
Howling Hounds (a.k.a. Manshees) are done!

I finished sculpting the Howling Hounds and shipped them out to Chapterhouse Studios this week.

This project has taken way longer than I had anticipated.  But I'm rather pleased at what I manage to achieve with the wacky idea of doing a male version of the banshees.

The pack was given their weapons and then their arms were removed to make them easier to cast.

 
I kind of dread this part since the process of separating the arms from the body inevitably results in some damage to the figure; which then requires touch up sculpting. 
 
Fortunately there wasn't any serious mess to clean up this time. 


The Packleader has 3 weapons options:
 The trsiskele weapon option:

 The dual Sword weapon option:

The Glaive weapon option:

Tuesday, February 28, 2012

W.I.P. Howling Hounds: size comparison

There were scale issues with the Scorpion Warrior-Priestess. So this time I tried harder to keep the size of these figures more compatible with the current range of 28mm figures.

Here are some pics to show size comparison for them that will hopefully alleviate those concerns.


W.I.P. Howling Hounds

Current state of the Hounds. Almost there; just need to add weapons and do some clean up.


I made a press mold again for the pistol. Though my attempt at making a 2 part press mold for them didn't pan out so I need to sculpt the other side by hand. It's still much easier than having to sculpt each one from scratch. 

Wednesday, February 15, 2012

W.I.P. Howling Hounds: Press Mold for Swords

I needed a sword for each of member of the gang so decide to make a press mold to replicate them in order preserve consistency in their appearance and to save myself some redundant work.


The press mold was made using Quick-Sil, a RTV jewelry molding rubber:

It's easy to use; just mix the two part putty-like material at a 1:1 ratio, press over the originals in a metal frame, stack up some books to weigh it down and let it cures for 15 minutes at room temperature.

This mold was then used to make castings of the weapons by pressing green stuff /brown stuff  into it.


The green stuff didin't turn out well; it had air bubbles and was a bit too soft to get a clean impression.

The brown stuff worked great. Though it was bit tricksy getting the epoxy into the mold since the mold material won't stick to anything but itself.

I made eight castings for each side of the four swords I was going to need along with the two swords for the pack leader. 


Then the back of each blade was filed down to make them thinner. The two sides were then stuck together using brown stuff. You can see the length of metal paper clip placed as support in four of the 8 castings in the pic.


And here's one of the Hounds proudly holding aloft his newly acquired sword:


Now all he needs is the pistol for the other hand. I plan on making a two-sided press mold and casting it in brown stuff again once the sculpting is done.

 
The sword for the Pack leader's single edged blade is asymmetrical though, so I'm going to have to do it the old fashion way and sculpt the other side by hand.

Monday, January 23, 2012

W.I.P. Howling Hounds a.k.a. Manshee: Weapons

Work in progress pics of the weapons for the Manshees.


I used Kneadatite Brown/ Aluminum Expoxy Putty (aka Brown Stuff) this time to sculpt the weapons instead of the usual green stuff I work with.

It is much more harder than green stuff when cured and is much more suitable material for carving, scraping and sanding; green stuff tends to be too soft and flexible.

I find it much easier to get sharper edges and crisper shapes with this material.


Monday, October 31, 2011

W.I.P. Howling Hounds ak.a. Manshee progress update

Sorry about the poor picture quality; I had to take the pics at night by lamp light since there wasn't enough sunlight today :(


Sunday, May 8, 2011

Rough concept sketch for Howling Hounds a.k.a. Manshee

Here's a rough concept sketch for my next project.

I did these to give my client an idea of the direction I was aiming for with the design.

I generally don't spend time working on finished concept art for my miniatures. I usually do dozens of rough sketches for myself until I have a fairly clear image of what I want in my mind.

I then finalize my design as I sculpt, since the process of translating the 2d image into a 3 dimensional object invariably requires changes to achieve an effective design for the tabletop.


The client felt that the above design wasn't distinctive enough, so I made the following changes.